How to Prepare Artwork for Perfect Embroidery (Avoid Costly Mistakes in 2026)
One of the biggest reasons embroidery designs fail is poor artwork preparation.
Even the best embroidery machines cannot fix bad input files.
If you want sharp stitching, clean edges, and smooth machine performance, you must prepare your artwork properly before sending it for digitizing.
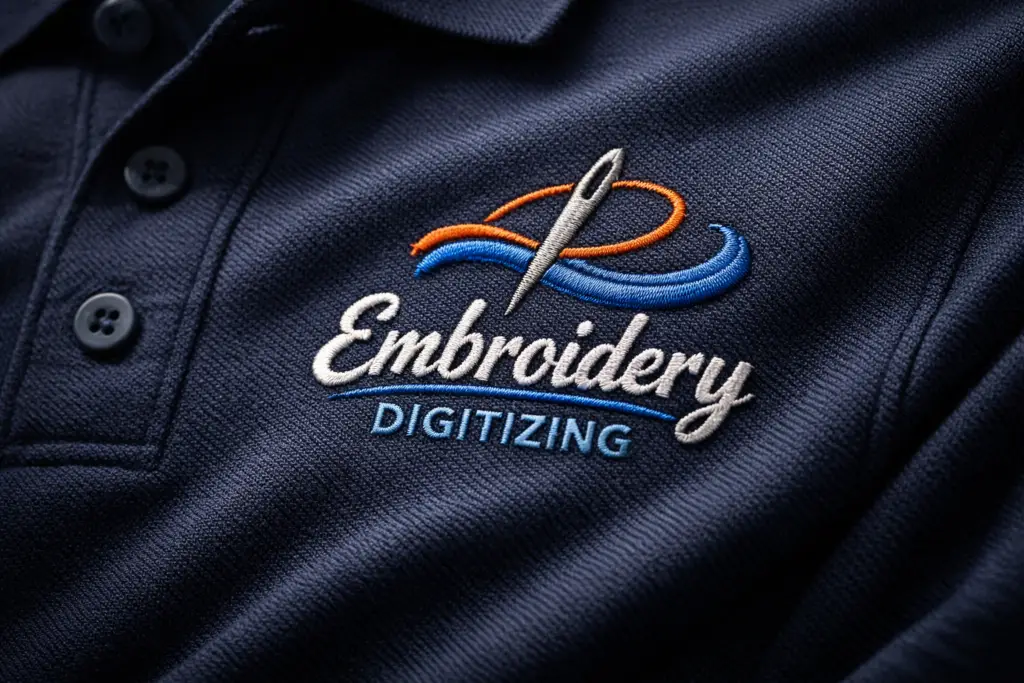
At ImageInThreads.com, we help businesses across the USA and worldwide turn logos into flawless stitch files — but preparation makes all the difference.
Why Artwork Preparation Matters
Embroidery is not printing.
Unlike digital graphics, embroidery uses:
- Thread thickness
- Stitch direction
- Density control
- Fabric interaction
Small design flaws that look fine on screen can cause:
❌ Thread breaks
❌ Puckering fabric
❌ Blurred small text
❌ Uneven stitching
Proper preparation prevents all of this.
Step 1: Use High-Resolution Artwork
Always provide:
✔ Vector files (AI, EPS, SVG, PDF) — BEST option
✔ High-resolution PNG or JPG (300 DPI minimum)
Low-quality screenshots create guesswork during digitizing.
If your artwork isn’t in vector format, our Vector Artwork Services can professionally convert it before digitizing.
Step 2: Avoid Very Small Text
Embroidery thread has thickness.
Tiny fonts under 5–6mm often close up during stitching.
For small placements like polos, check our Left Chest Digitizing Services to ensure text remains readable at reduced sizes.
Step 3: Simplify Complex Designs
Gradients, shadows, and fine details don’t translate well into embroidery.
Best practice:
✔ Use solid colors
✔ Remove unnecessary shading
✔ Keep clean outlines
If your logo is complex, our Logo Embroidery Digitizing Services ensure it is optimized for stitch clarity.
Step 4: Know Your Product Placement
Embroidery behaves differently depending on placement:
- Caps → Curved surface
- Sleeves → Narrow vertical space
- Patches → Border-focused
- 3D Puff → Requires bold satin areas
For cap projects, refer to our Cap Digitizing Services.
For raised designs, explore 3D Puff Digitizing Services.
Each placement requires different stitch strategies.
Step 5: Choose the Right Colors
Thread colors differ slightly from digital screen colors.
Tips:
✔ Provide Pantone references if possible
✔ Avoid extremely close color shades
✔ Limit excessive color changes
If your artwork requires complex thread planning, our Color Separation Services help optimize stitch sequence for smoother production.
Step 6: Consider Fabric Type
Fabric affects stitch behavior.
For example:
- Stretch fabrics require adjusted density
- Thick jackets need stronger underlay
- Caps require pull compensation
For patches, structured materials work best with our Patch Digitizing Services.
Always mention fabric type when placing an order.
Step 7: Maintain Proper Logo Size
Scaling a logo too small ruins clarity.
General recommendations:
- Left chest logos: 3.5” – 4” width
- Caps: 2.25” – 2.75” height
- Jacket backs: Larger format
Proper sizing ensures stitch balance and readability.
Professional Tip: Plan for Stitch Direction
Embroidery has depth.
Correct stitch direction enhances:
✔ Shine effect
✔ Clean borders
✔ Dimensional look
Especially important in Applique Digitizing Services and bold designs.
Final Thoughts
Preparing your artwork correctly saves time, prevents production errors, and ensures your embroidery looks professional.
Embroidery is a technical craft — and good preparation is the first step toward premium results.
If you’re ready to convert your artwork into machine-ready stitch files, explore our professional embroidery digitizing services and get started today.